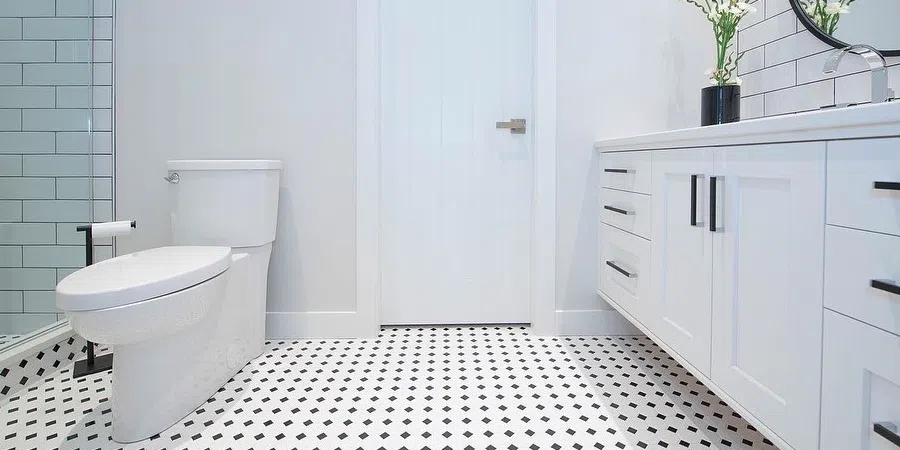
Tough break? How to replace a tile.
Tile is undeniably durable, but it’s not indestructible. A cast-iron pan takes a tumble or a mug falls at just the wrong angle, and now you have a cracked or chipped tile. Replacing a broken tile yourself is a low-cost way to get that floor or countertop back to looking good as new.
If you have a tile leftover from the install and a few tools on hand, Dennis from Arden Tile can walk you through how to do it.
Safety is always priority
Like with any DIY job, safety comes first. Dennis advises having knee pads to kneel on, some safety glasses to protect your eyes, light gloves, and hearing protection.
Hot tip
“First determine if there are heat cables underneath the tile, so you can take precautions not to damage them during the tile removal.”
Protect the neighbouring tiles
“Use a utility knife to cut the grout around the tile. By doing this you reduce the chance of cracking or chipping a surrounding tile, because it isolates the tile from vibrations during the removal.”
Break it up
“Next, take a hammer, break the tiles into smaller pieces and continue working on the tile fragments with the chisel. Make sure you remove all the old thinset as well getting down to the original subfloor.” (thinset is the adhesive underneath the tile)
Clean and prime
“Make sure you wet the subfloor surface with a sponge to remove any residual dust, and then apply a multi bonding primer to maximize your tile adhesion.”
Tile time
“Lastly, with a proper notch trowel and a small batch of thin set, reset the tile, wait 12 hours for the thinset to harden appropriately, and grout it up.”
A little expert advice can make a big difference to the success of a project. If you have questions about replacing a tile or about a tile project you have planned, stop by and talk to the team at Arden Tile on 45th Avenue.


